ARM and Bicep Deployments
Intro:
The goal of this project was to gain more experience with Infrastructure as Code (IaC), which involves managing infrastructure through code for automated, consistent, and repeatable deployments. Since Azure allows the use of both Azure Resource Manager (ARM) templates and Bicep files for resource deployment, I wanted to learn how to use both methods to deploy resources in Azure.
General Procedure:
For this project, we will deploy resources to Azure using different methods. The general steps are below.
- Create an Azure Resource Manager template
- Edit the ARM template and redploy template
- Configure the Cloud Shell and deploy a template with Azure PowerShell
- Deploy a template with the CLI
- Deploy a resource by using Azure Bicep
- Deploy multiple resources using Bicep
The Project:
The first thing that I do is always create a resource group for each individual lab. For this lab, I named the resource group "armlab".
Before creating a template, I had to make a disk for the template. Using the Create Managed Disk window, I created a managed disk in the resource group.
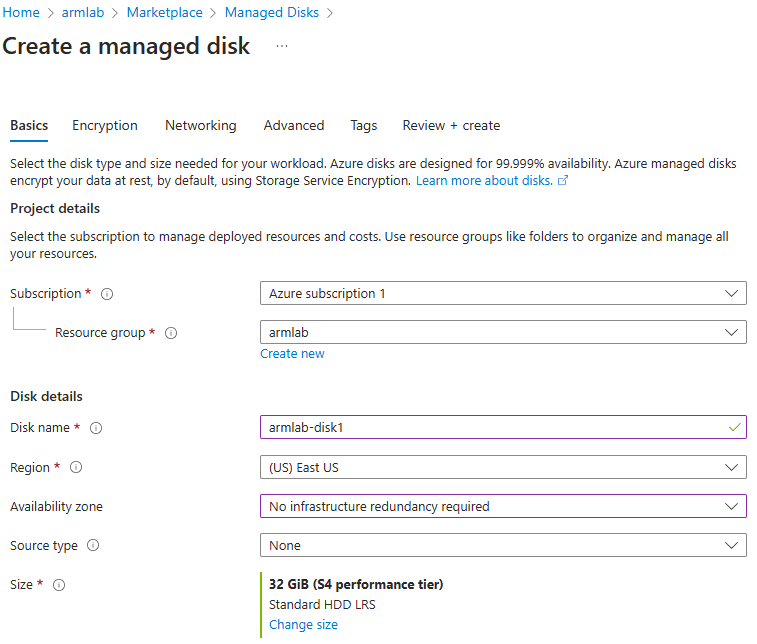
Once the disk was created, I used the Automation menu to export the templates I need for future deployments. The export was a zip file that contained two files: a template.json and a parameters.json.
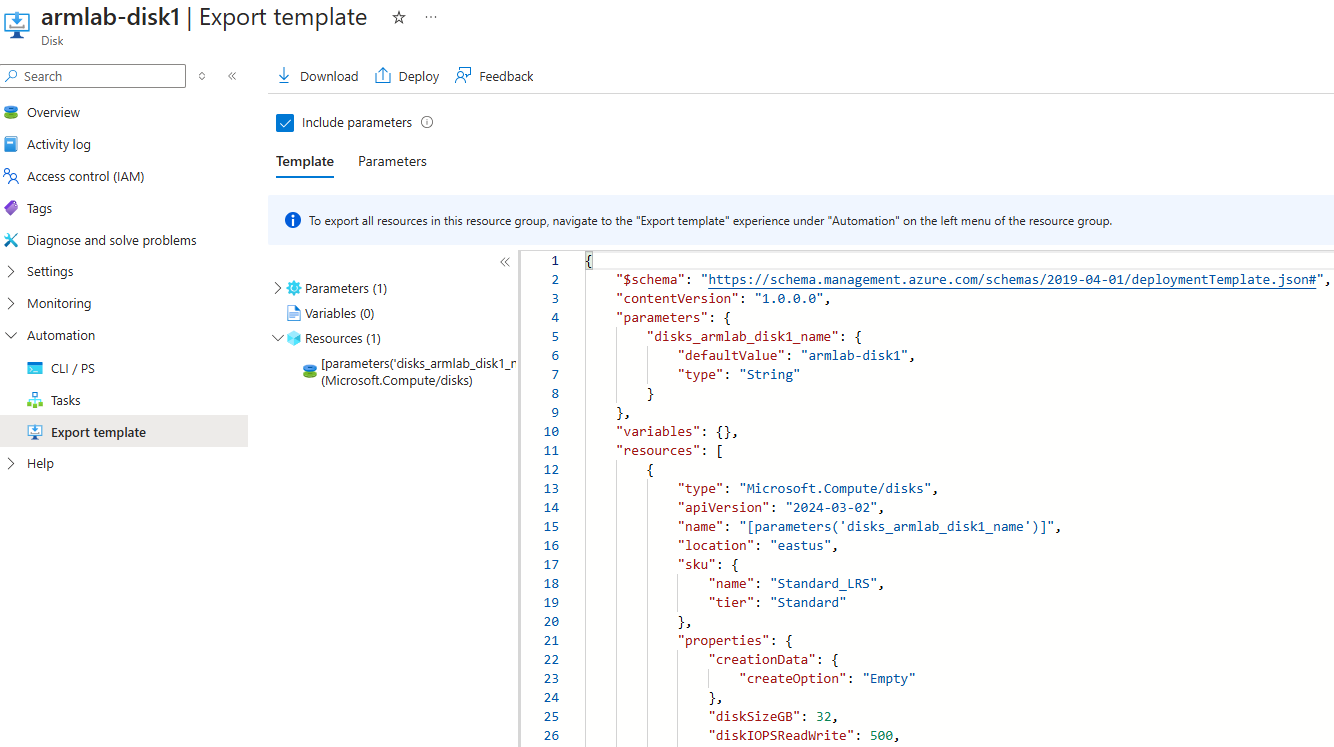
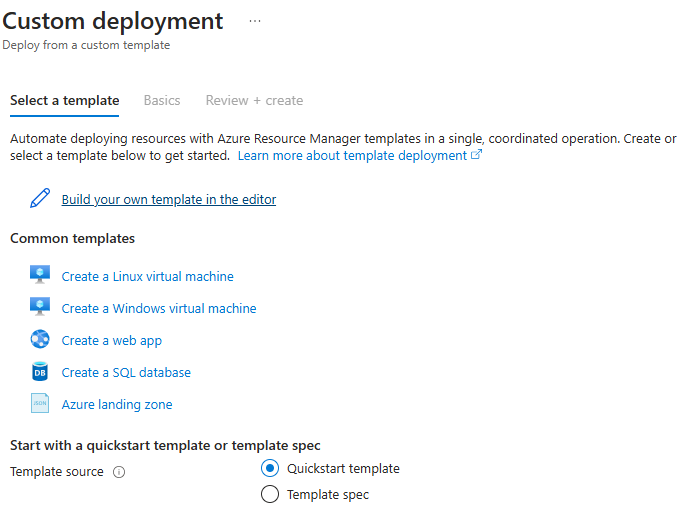
Once I had the JSONs that I needed, I navigated to the custom deployment menu. I was able to upload the files by selecting "Build your own template in the editor".
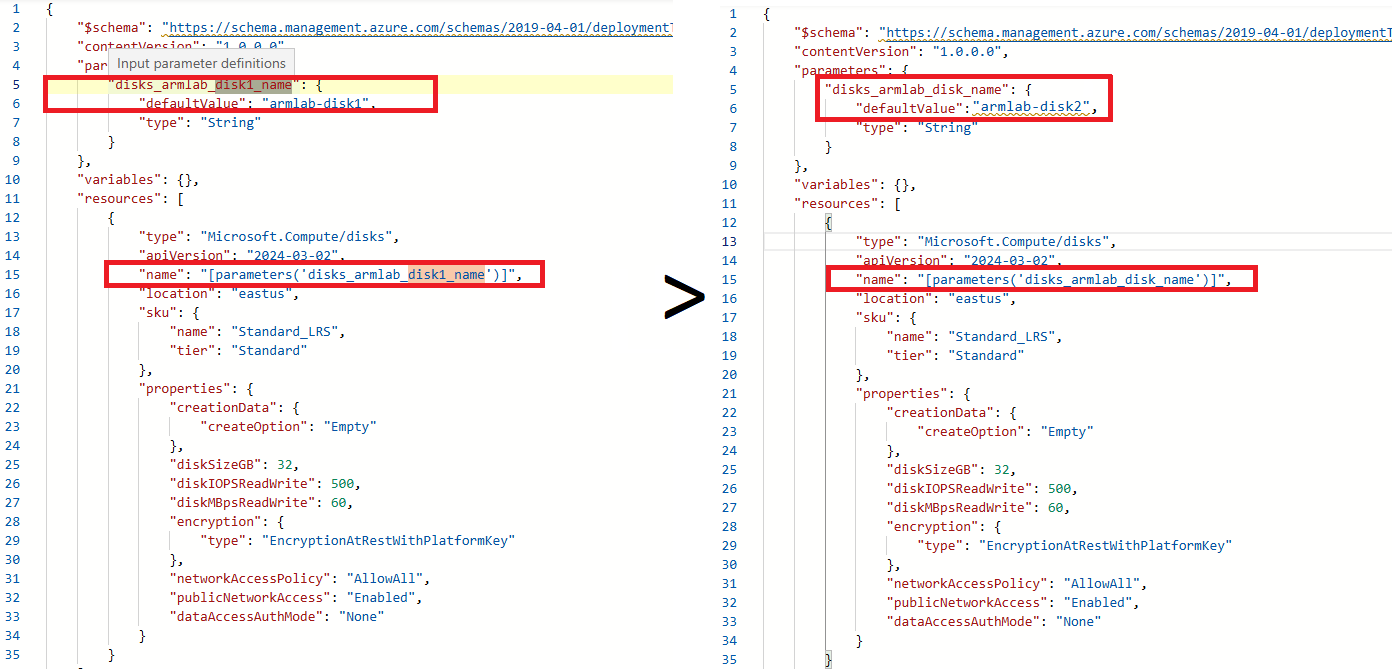
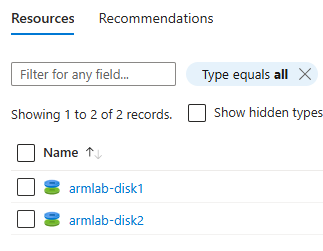
Once uploaded, I changed every instance of "disk1_name" to "disk_name" in both of the files. I also changed the disk name parameter (armlab_disk1) to armlab_disk2. I saved my changes and clicked the Create button.
To verify that the resource was created, I navigated to the resource group, and checked the resources listed. Success!
Deploying the ARM Template with Cloud Shell
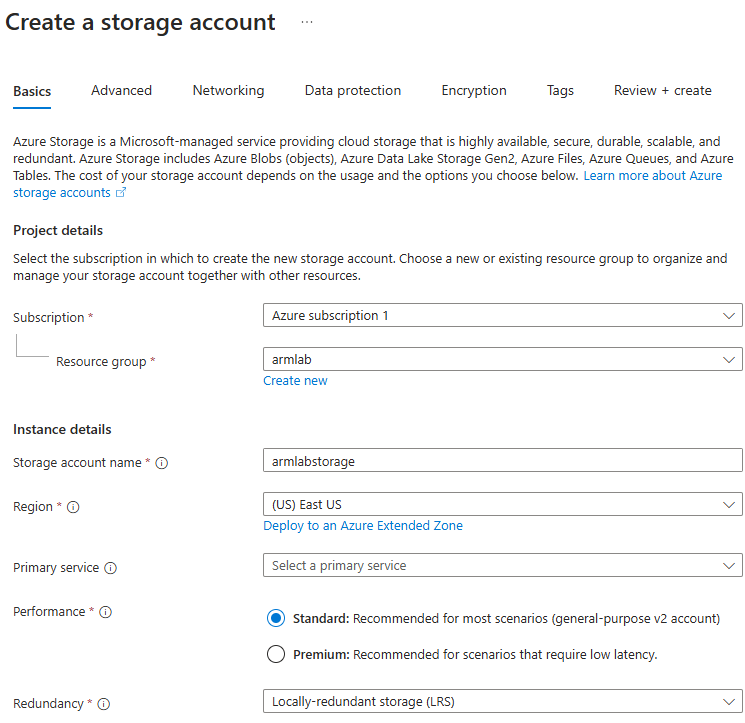
I also wanted to use the templates to deploy the files using the Cloud Shell. For this, I had to create a storage account in the resource group to upload the files to:
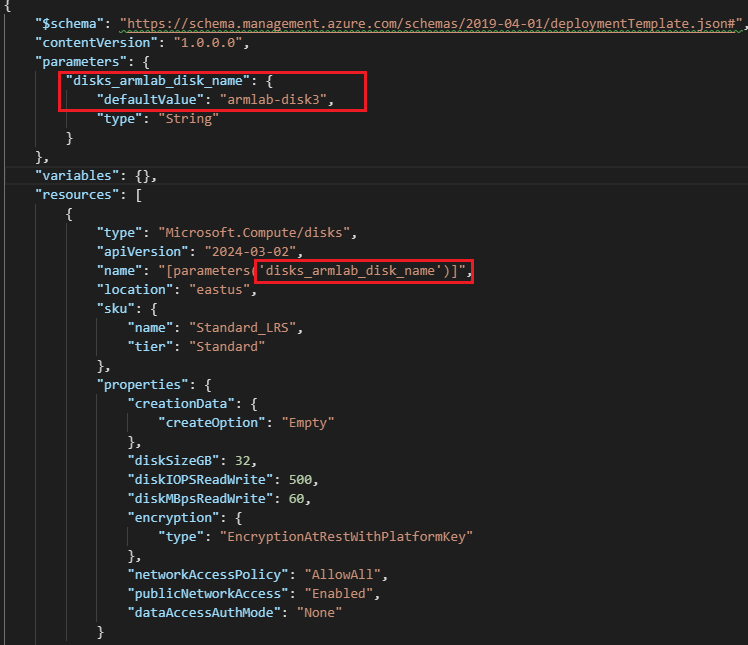
Once the files were uploaded to the storage acount, I navigated to them using the Editor. I made similar edits as before, this time naming the disk armlab-disk3.
After saving the changes, I ran the following command to create the new resource using the two JSON templates:

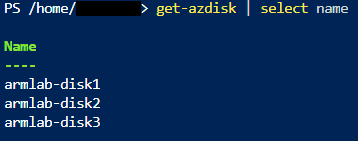
To verify disk creation, I ran get-azdisk. Another success--there are now three armlab disks.
Deploying the Resource Using Bicep File
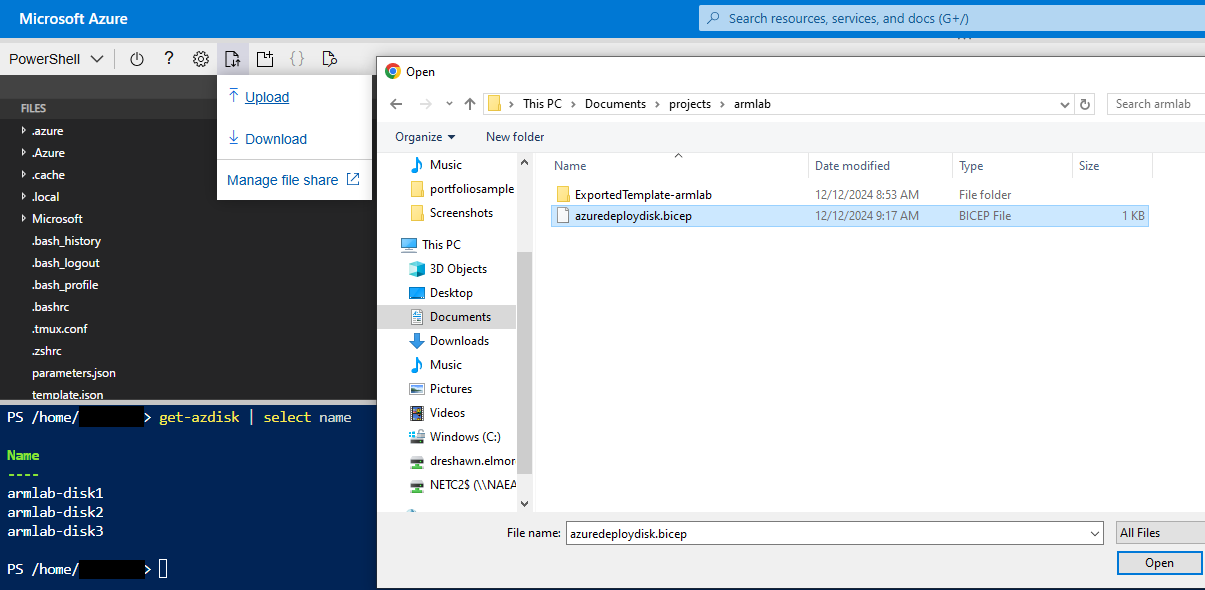
Microsoft provides a example template Bicep file for disk deployments in Azure. I uploaded that file to the same storage instance as before:
I used the Editor to change the parameters for the disk name, disk size, and the disk type:
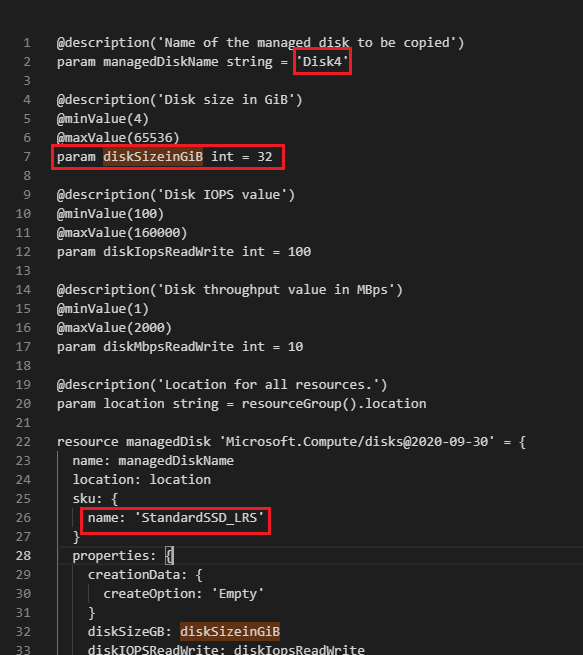
After editing and saving the Bicep file, I used the following command to deploy armlab-disk4 to the resource group, and verified the outcome:


Deploying Multiple Resources Using Bicep File
The Bicep file seemed simple enough to use, so I wanted to see if I could use the same template to deploy 5 disks at once. for this, I added the storageCount parameter, set it to 5, and used that as a variable in the number of disks created. For clarity's sake, I changed the name for the 5 new disks to be scale-disk#.
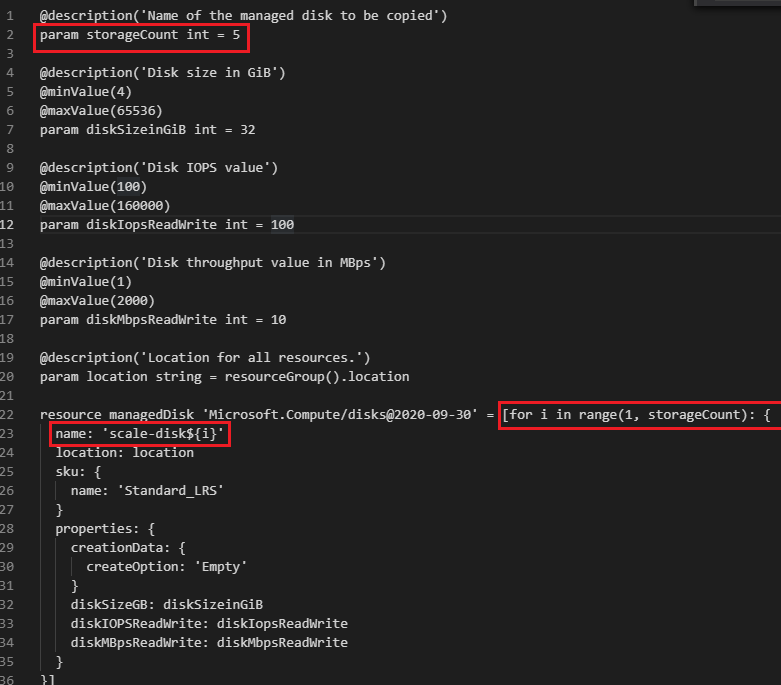
I used the same command as the previous Bicep deployment. After some time, I verified that all disks had been created in the resource group. I've successfully deployed five disks at once using a single command!

Conclusion/Lessons Learned:
Azure Resource Manager templates and Bicep files allow you to deploy, manage, and monitor all the resources for your solution collectively, instead of managing each resource separately. This approach enhances scalability, enabling easy adjustments and deployments of resources.